Every homeowner eventually faces a loose cabinet hinge, a dripping faucet, or a wall that needs patching. If you’re here, you’re likely looking to build confidence in handling these everyday issues without immediately calling a professional. This article is designed to help you develop basic home repair skills that save money, prevent further damage, and make day-to-day home maintenance far less stressful.
We focus on practical, room-by-room guidance and straightforward techniques you can apply right away. From simple tool essentials to step-by-step fixes for common household problems, you’ll gain clear, actionable knowledge tailored to real-life situations.
To ensure accuracy and reliability, the guidance in this article is informed by widely accepted home maintenance standards and insights from experienced trades professionals. Whether you’re a first-time homeowner or simply want to be more self-sufficient, you’ll find trusted, easy-to-follow advice to strengthen your skills and keep your home in top shape.
Empower your inner handyman by treating your home like a living machine. When a faucet drips, it’s not a crisis; it’s a loose cog asking for attention. Learning basic home repair skills is like learning to tie your shoes—awkward at first, automatic later. Start with:
- Fixing a dripping faucet (think of it as silencing a ticking clock).
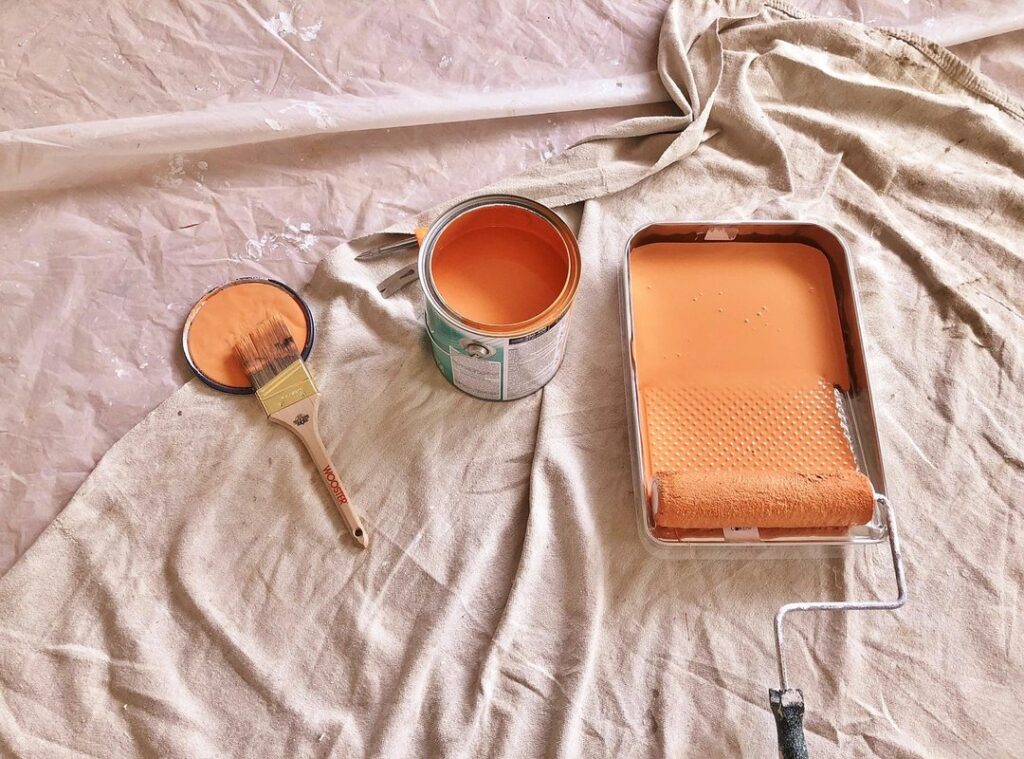
- Patching small wall holes, like frosting a cake smoothly.
- Resetting a tripped breaker, the home’s version of a reboot.
Some argue DIY risks bigger damage, but most minor fixes are paint-by-number simple. With patience and the right tools, you’ll save money and confidence.
Building Your Essential DIY Toolkit: The First Step to Success
By mastering essential home repair skills, homeowners not only increase their self-sufficiency but also complement their efforts in maintaining a clean and organized space, which can be further enhanced by adopting simple morning routines – for more details, check out our Simple Morning Routines to Maintain a Clean and Organized House.
We’ve all been there. A loose cabinet handle. A dripping faucet at 9 p.m. And somehow, the only tool in the house is a butter knife (which, let’s be honest, never works). Before frustration wins, it helps to stock the true must-haves.
The Must-Haves
Start with 10–15 essentials: a claw hammer, screwdriver set (flathead and Phillips), adjustable wrench, tape measure, level, utility knife, pliers, hex keys, stud finder, flashlight, socket set, and a basic tool box. These cover most basic home repair skills and prevent those “why don’t I own this?” moments.
Beyond the Basics
Once you’re comfortable, Level 2 tools make life easier: a cordless drill (a game-changer), caulk gun, stud finder, and small hand saw. For example, hanging shelves without a drill is like trying to stir concrete with a spoon.
Smart Shopping Tips
Invest in quality for power tools—especially a drill. Cheap ones burn out fast (and that smell is not victory). Meanwhile, you can save on basic hand tools if they feel sturdy.
Safety First
Finally, don’t skip safety glasses, gloves, and dust masks. Splinters and flying debris are not badges of honor. Pro tip: keep safety gear in the same box as your tools so you never “forget.”
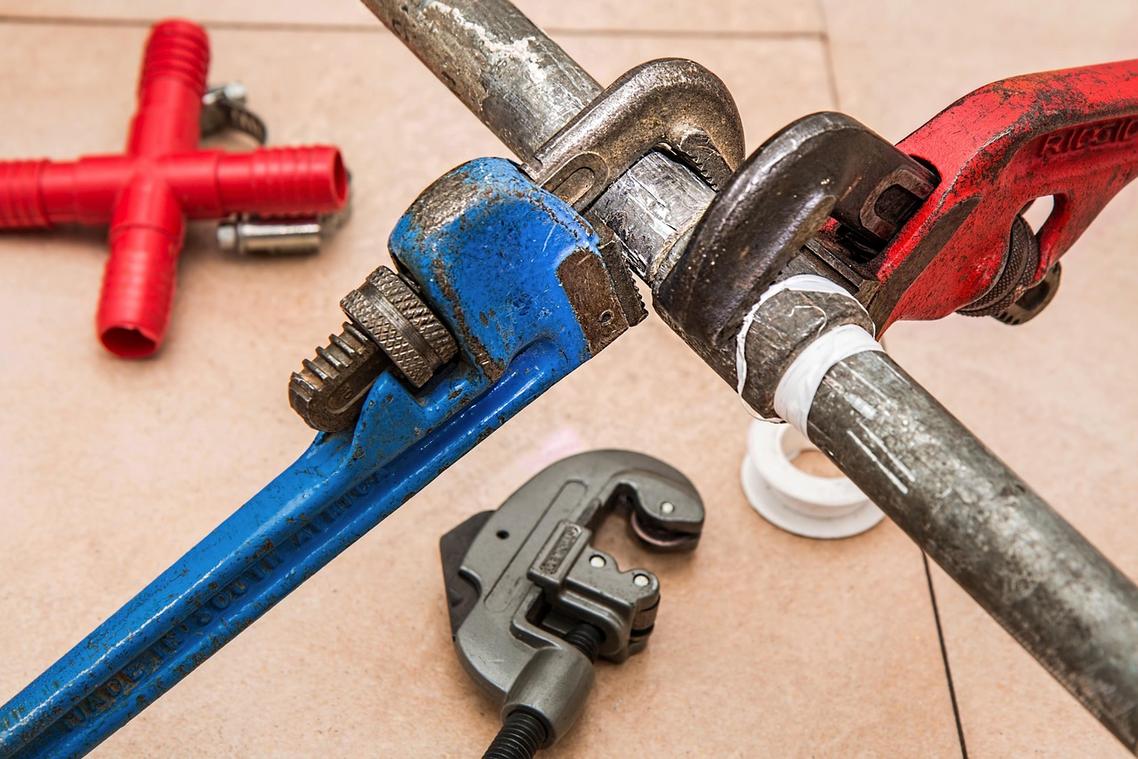
Conquering Common Plumbing Problems
Plumbing issues can feel overwhelming—but mastering a few basic home repair skills saves money, prevents water damage, and gives you serious homeowner confidence (yes, you’ll feel like you just won a tiny HGTV challenge).
1. Fixing a Leaky Faucet
That constant drip isn’t just annoying—it can waste over 3,000 gallons per year (EPA). First, shut off the water supply under the sink. Disassemble the handle and inspect the washer, O-ring, or cartridge. These small rubber or plastic components create a watertight seal; when worn, leaks happen. Replace the faulty part, reassemble, and turn the water back on.
Benefit: You stop water waste instantly and protect your fixtures from corrosion.
2. Unclogging a Drain Without Harsh Chemicals
Skip the chemical cleaners (they can corrode pipes over time). Instead:
- Use a plunger to create suction and loosen blockages.
- Feed a drain snake (auger) down the pipe to physically remove debris.
- Try baking soda followed by vinegar for minor clogs; the fizz helps break down buildup.
You’ll avoid pipe damage and keep harmful substances out of your home.
3. Stopping a Running Toilet
A running toilet can waste up to 200 gallons daily (EPA). The usual suspects are the flapper (the rubber seal at the tank’s base) or the fill valve (which controls water refilling). Adjust or replace either in under 15 minutes with simple tools.
The payoff? Lower water bills and peace of mind.
For a deeper walkthrough, see how to fix common plumbing problems without calling a pro and take control of your home repairs today.
CRITICAL SAFETY WARNING: ALWAYS TURN OFF POWER AT THE CIRCUIT BREAKER BEFORE STARTING ANY ELECTRICAL WORK. DOUBLE-CHECK WITH A VOLTAGE TESTER TO CONFIRM THE POWER IS OFF. FAILURE TO DO SO CAN RESULT IN SERIOUS INJURY OR FIRE.
Taking control of small electrical updates boosts SAFETY, SAVES MONEY, and builds confidence with basic home repair skills. (Yes, flipping the breaker first is your real superpower—Spider-Man had great responsibility; you have a breaker panel.)
Replacing a Light Switch or Outlet
Start by removing the cover plate and unscrewing the old device. Gently pull it out to see three wires:
- Hot (black or red): carries power
- Neutral (white): returns power
- Ground (green or bare copper): safety path
Match each wire to the same terminal on the new switch or outlet. Tighten screws firmly and secure the device back into the box before restoring power. The payoff? Fewer loose connections, reduced fire risk, and a polished look.
Installing a New Light Fixture
Support the fixture’s weight with a secure electrical box rated for ceilings. Connect hot to hot, neutral to neutral, and ground to ground using wire connectors. Tight connections mean better performance and LONG-TERM reliability. (Pro tip: If the fixture feels heavy, use a mounting bracket for extra stability.)
The benefit is clear: a safer home, lower repair costs, and the pride of doing it yourself RIGHT.
First, patching small holes is almost meditative. When you press lightweight spackling compound into a tiny nail hole, it feels cool and creamy against the putty knife. Smooth it flush with the wall, let it dry to a pale, chalky finish, then sand until the surface feels silky under your fingertips. Next, repairing larger drywall damage requires a self-adhesive mesh patch. Center it over the hole, press firmly, and spread joint compound until the grid disappears beneath a smooth layer. As it dries, you might hear faint crackles while it cures. Light sanding blends the edges seamlessly. Finally, for perfect paint touch-ups, use the exact same paint finish and feather the edges. Dip your brush lightly, then sweep outward so the fresh coat softly fades into the old, without ridges or shine shifts. With basic home repair skills and patience, your walls can look freshly painted, smelling of clean latex.
Knowing Your Limits: When to Call a Professional
I once tried to fix what I thought was a “small” leak under my sink. Two hours later, water was spraying everywhere. THAT was my wake-up call. DIY has power—it builds confidence and sharpens basic home repair skills. But there’s a line.
Call a professional for:
- Major leaks or burst pipes
- Circuit breaker failures
- Structural cracks
- Gas smells
- Projects requiring permits
Some argue YouTube can teach anything. Maybe. But EXPERIENCE teaches caution (usually the hard way). Smart homeowners know real skill isn’t doing everything—it’s knowing when not to.
Take Control of Your Home with Confidence
You started this guide because you wanted practical, no-nonsense ways to keep your home clean, organized, and running smoothly. Now you have the strategies to tackle daily upkeep, room-specific cleaning challenges, and small fixes without feeling overwhelmed.
Ignoring small issues often leads to bigger, more expensive problems. A loose handle, a neglected spill, or skipped maintenance routine can quickly turn into stress you don’t need. By staying consistent and building basic home repair skills, you protect your space, your budget, and your peace of mind.
The next step is simple: put one tip into action today. Choose a room, handle one overdue task, or fix that small issue you’ve been postponing. Small wins build lasting habits.
If you’re ready to make home care easier and more efficient, explore more expert-backed tips and step-by-step guides designed to simplify your routine. Join thousands of homeowners who rely on trusted, practical advice to keep their homes looking their best—start transforming your space today.
 Interior Styling Consultant
Agnes Pakenzone has opinions about room-specific cleaning techniques. Informed ones, backed by real experience — but opinions nonetheless, and they doesn't try to disguise them as neutral observation. They thinks a lot of what gets written about Room-Specific Cleaning Techniques, Home Care Strategies and Fixes, Interior Styling Ideas and Trends is either too cautious to be useful or too confident to be credible, and they's work tends to sit deliberately in the space between those two failure modes.
Reading Agnes's pieces, you get the sense of someone who has thought about this stuff seriously and arrived at actual conclusions — not just collected a range of perspectives and declined to pick one. That can be uncomfortable when they lands on something you disagree with. It's also why the writing is worth engaging with. Agnes isn't interested in telling people what they want to hear. They is interested in telling them what they actually thinks, with enough reasoning behind it that you can push back if you want to. That kind of intellectual honesty is rarer than it should be.
What Agnes is best at is the moment when a familiar topic reveals something unexpected — when the conventional wisdom turns out to be slightly off, or when a small shift in framing changes everything. They finds those moments consistently, which is why they's work tends to generate real discussion rather than just passive agreement.
Interior Styling Consultant
Agnes Pakenzone has opinions about room-specific cleaning techniques. Informed ones, backed by real experience — but opinions nonetheless, and they doesn't try to disguise them as neutral observation. They thinks a lot of what gets written about Room-Specific Cleaning Techniques, Home Care Strategies and Fixes, Interior Styling Ideas and Trends is either too cautious to be useful or too confident to be credible, and they's work tends to sit deliberately in the space between those two failure modes.
Reading Agnes's pieces, you get the sense of someone who has thought about this stuff seriously and arrived at actual conclusions — not just collected a range of perspectives and declined to pick one. That can be uncomfortable when they lands on something you disagree with. It's also why the writing is worth engaging with. Agnes isn't interested in telling people what they want to hear. They is interested in telling them what they actually thinks, with enough reasoning behind it that you can push back if you want to. That kind of intellectual honesty is rarer than it should be.
What Agnes is best at is the moment when a familiar topic reveals something unexpected — when the conventional wisdom turns out to be slightly off, or when a small shift in framing changes everything. They finds those moments consistently, which is why they's work tends to generate real discussion rather than just passive agreement.