A full kitchen reset can feel like a massive undertaking—but with the right plan, it doesn’t have to be. This step-by-step guide walks you through a complete kitchen deep cleaning checklist, turning an overwhelming task into a clear, manageable process. From overlooked ceiling fixtures to hidden baseboards beneath cabinets, every surface is accounted for. Instead of random wiping and scrubbing, you’ll follow a structured system designed to fully sanitize, refresh, and restore your space. By working through this checklist in order, you’ll save time, avoid missed spots, and achieve a spotless, professionally cleaned kitchen with confidence.
Phase 1: Prepare the Space for a Deep Clean
For a comprehensive approach to transforming your cooking space, be sure to check out our Wutawhelp Guide, where you’ll find additional tips and resources that complement this kitchen deep cleaning checklist for a healthier environment.
Before you scrub a single surface, set yourself up for success. Preparation creates a clean slate, which simply means removing visual and physical clutter so you can clean faster and more thoroughly.
First, clear all surfaces. Take everything off countertops, the kitchen table, and even the top of the fridge. Place items in a box or on the dining table. Immediately, you’ll see more space—and that momentum boost is real (a clear counter just feels productive).
Next, load and run the dishwasher. Clearing the sink gives you room to work and prevents grime from spreading. Then, empty trash and recycling so you can toss debris as you go.
Finally, do an initial sweep or vacuum. This quick dry pass makes the “wet work” far more effective.
Pro tip: Follow a kitchen deep cleaning checklist to avoid backtracking.
Phase 2: The Top-Down Method: Ceilings and Cabinets
Cleaning from top to bottom isn’t just tradition—it’s physics. Gravity ensures dust and debris fall downward, which means starting low only doubles your work (and your frustration). Professional cleaning standards, including those from the International Sanitary Supply Association (ISSA), recommend a TOP-DOWN approach to reduce cross-contamination and improve efficiency.
Start High: Ceilings, Corners, and Fixtures
Use a long-handled duster to remove cobwebs from ceiling corners and edges. Studies show household dust can contain pollen, mold spores, and fabric fibers (EPA), so removing it early prevents redistribution.
Carefully wipe pendant lights, chandeliers, and ceiling fan blades. If possible, remove glass covers and wash them in warm, soapy water. (You’ll be surprised how much brighter the room looks—like switching from mood lighting to movie premiere night.)
Next, wipe the tops of cabinets and the refrigerator. These surfaces collect greasy residue due to airborne cooking particles, especially in kitchens without strong ventilation (NIH research on indoor air quality supports this).
Finally, clean cabinet exteriors, focusing on handles where bacteria accumulate. This step aligns perfectly with any thorough kitchen deep cleaning checklist—and ensures you’re not spreading grime downward later.
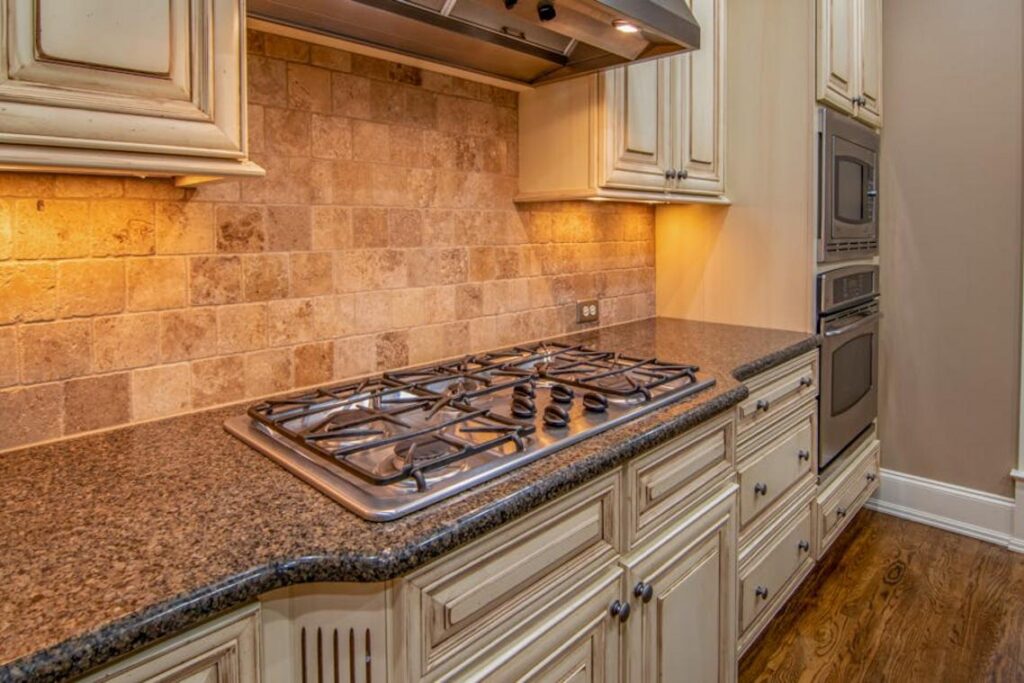
Phase 3: The Work Zone: Countertops and Major Appliances
This is the heart of your kitchen—the space where meals happen, spills splatter, and crumbs mysteriously multiply overnight. If you want that true deep-cleaned feel, this is where the magic (and effort) happens.
Degrease the Backsplash
Spray and wipe the backsplash thoroughly. Grease particles (tiny airborne oil droplets released during cooking) cling more than you think. Use a soft brush for stubborn grout stains, especially near the stove. If you skip this step, the rest of your cleaning won’t feel complete—like washing your car but ignoring the wheels.
Deep Clean Countertops
Sanitize and scrub all countertop surfaces. For natural stone like granite or marble, use a specialized cleaner to avoid etching (permanent dull spots caused by acidic products, according to the Natural Stone Institute). Some argue warm soapy water is enough—and for daily cleaning, that’s fair. But during a deep clean, disinfecting high-touch prep zones adds an extra layer of safety.
Refrigerator Deep Clean
Wipe the exterior, including handles and the water dispenser. Clean rubber door seals—they trap crumbs and moisture. For a full reset, empty the fridge, remove shelves and drawers, and wash them separately. (Yes, it’s a commitment. Put on music and call it productivity cardio.)
Oven and Stovetop
Clean burner grates, knobs, and the oven interior. Self-cleaning functions help, but manual spot-cleaning prevents smoke buildup next time you bake.
Range Hood and Filter
Remove and soak the filter in hot, soapy degreaser. This improves airflow and reduces lingering odors.
Once this phase is complete, your kitchen deep cleaning checklist is nearly done. Next, you might wonder about sanitizing other high-moisture zones in your home—especially bathrooms. For that, review how to sanitize your bathroom effectively and safely: https://mrshometips.com/how-to-sanitize-your-bathroom-effectively-and-safely/.
Pro tip: Finish by disinfecting light switches and cabinet pulls—they’re touched more than you realize.
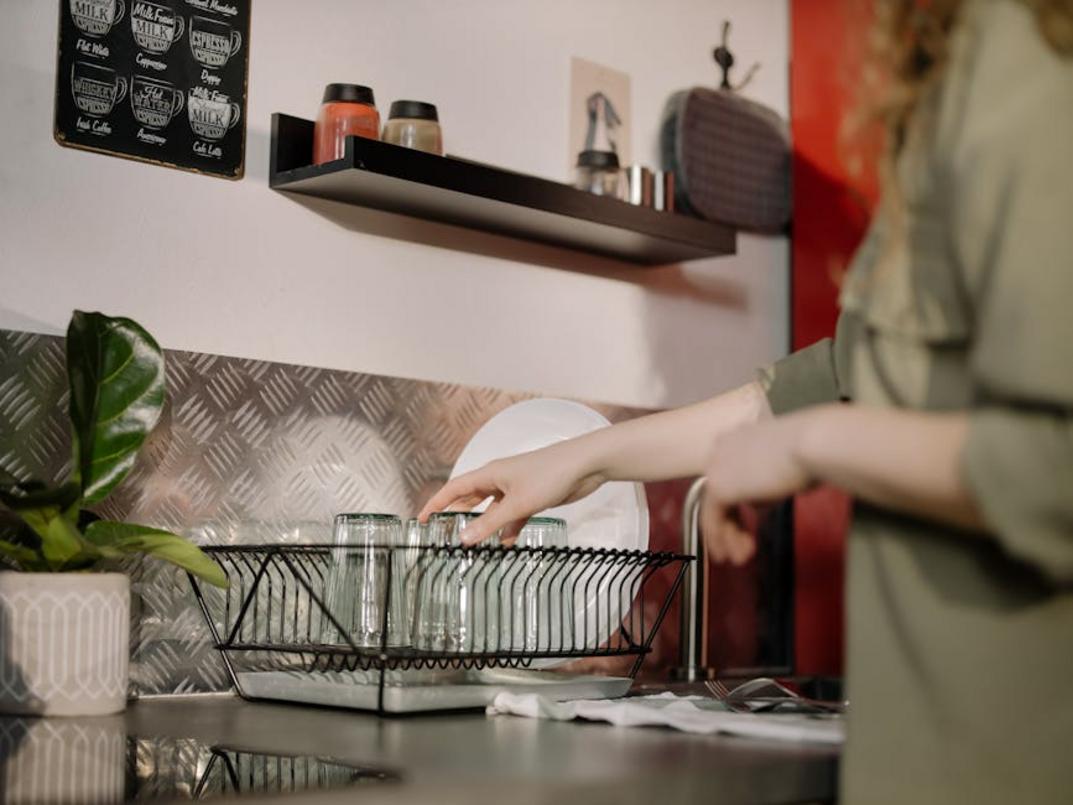
Phase 4: Small Appliances and the Sink Area
You’ve scrubbed the floors. You’ve wiped the cabinets. And then… you open the microwave. Splatter city. (Why does pasta sauce explode like it’s in an action movie?) These high-touch spots are small, but ignoring them can undo your entire kitchen deep cleaning checklist.
Microwave Interior and Exterior
Heat a bowl of water with lemon juice for 2–3 minutes to loosen grime, then wipe it down. Don’t forget the keypad—those sticky fingerprints are a silent testimony to every rushed snack.
Coffee Maker and Toaster
Descale the coffee maker (mineral buildup affects taste and performance, according to manufacturers like Keurig). Empty and wipe the toaster’s crumb tray—because burnt crumbs smell terrible and can become a fire hazard (NFPA).
Other Small Appliances
- Wipe down your stand mixer
- Clean the blender base
- Degrease anything living permanently on your counter
These are the spots people skip because “they don’t look that dirty.” Until you actually look.
Scrub the Sink
Deep clean the basin, faucet, and handles. Use a brush around the drain. Run ice cubes and citrus peels through the garbage disposal to freshen it up.
It’s tedious. It’s annoying. But it’s the difference between “clean” and actually clean.
Phase 5: The Final Details: Floors and Finishing Touches
This is where the room shifts from clean to complete. The small details you handle now determine whether your kitchen feels freshly reset or just “good enough.”
Start by wiping down baseboards and switch plates. These high-touch, low-visibility spots collect dust, grease, and fingerprints over time. A damp microfiber cloth (which traps particles instead of spreading them) makes quick work of buildup while protecting paint.
Next, vacuum thoroughly—especially along cabinet kick plates and corners where crumbs hide. Follow with a mop suited to your flooring type, whether tile, vinyl, or hardwood. Work your way out of the room to avoid footprints.
- Use a pH-neutral floor cleaner to protect finishes and prevent dulling over time.
Clean windows, sills, and door panels to brighten the space—natural light instantly highlights your effort.
Finally, as you reference your kitchen deep cleaning checklist, return only essential items to counters, wiping each one down before placing it neatly back.
Bring Your Kitchen Back to Life with a Clear Plan
You came here looking for a practical way to tackle the mess, grease, and hidden buildup that make your kitchen feel overwhelming. Now you have a step-by-step plan you can actually follow. Instead of guessing what to scrub next or forgetting key areas, you can move through your space with confidence and finally feel in control.
A neglected kitchen doesn’t just look bad — it creates stress, wastes time, and makes daily cooking harder than it should be. The good news? With a structured kitchen deep cleaning checklist, you eliminate the chaos, stay organized, and make deep cleaning faster and far more effective.
Don’t let grime pile up until it feels impossible again. Start using a proven kitchen deep cleaning checklist today and turn your kitchen into the fresh, functional space you deserve. Thousands of home enthusiasts rely on structured cleaning systems to save time and reduce stress — and you can too.
Take action now: print your checklist, schedule your next deep clean, and reclaim your kitchen with confidence.
 Interior Styling Consultant
Agnes Pakenzone has opinions about room-specific cleaning techniques. Informed ones, backed by real experience — but opinions nonetheless, and they doesn't try to disguise them as neutral observation. They thinks a lot of what gets written about Room-Specific Cleaning Techniques, Home Care Strategies and Fixes, Interior Styling Ideas and Trends is either too cautious to be useful or too confident to be credible, and they's work tends to sit deliberately in the space between those two failure modes.
Reading Agnes's pieces, you get the sense of someone who has thought about this stuff seriously and arrived at actual conclusions — not just collected a range of perspectives and declined to pick one. That can be uncomfortable when they lands on something you disagree with. It's also why the writing is worth engaging with. Agnes isn't interested in telling people what they want to hear. They is interested in telling them what they actually thinks, with enough reasoning behind it that you can push back if you want to. That kind of intellectual honesty is rarer than it should be.
What Agnes is best at is the moment when a familiar topic reveals something unexpected — when the conventional wisdom turns out to be slightly off, or when a small shift in framing changes everything. They finds those moments consistently, which is why they's work tends to generate real discussion rather than just passive agreement.
Interior Styling Consultant
Agnes Pakenzone has opinions about room-specific cleaning techniques. Informed ones, backed by real experience — but opinions nonetheless, and they doesn't try to disguise them as neutral observation. They thinks a lot of what gets written about Room-Specific Cleaning Techniques, Home Care Strategies and Fixes, Interior Styling Ideas and Trends is either too cautious to be useful or too confident to be credible, and they's work tends to sit deliberately in the space between those two failure modes.
Reading Agnes's pieces, you get the sense of someone who has thought about this stuff seriously and arrived at actual conclusions — not just collected a range of perspectives and declined to pick one. That can be uncomfortable when they lands on something you disagree with. It's also why the writing is worth engaging with. Agnes isn't interested in telling people what they want to hear. They is interested in telling them what they actually thinks, with enough reasoning behind it that you can push back if you want to. That kind of intellectual honesty is rarer than it should be.
What Agnes is best at is the moment when a familiar topic reveals something unexpected — when the conventional wisdom turns out to be slightly off, or when a small shift in framing changes everything. They finds those moments consistently, which is why they's work tends to generate real discussion rather than just passive agreement.