If you’re searching for a practical, no-nonsense bathroom sanitizing guide, you likely want clear steps that actually work—not generic advice that wastes your time. Bathrooms are high-moisture, high-traffic spaces where germs, soap scum, and mildew build up fast. Without the right approach, even regular cleaning can leave hidden bacteria behind.
This article is designed to give you room-specific sanitizing techniques, daily maintenance habits that prevent deep grime buildup, and smart product strategies that make cleaning faster and more effective. Whether you’re tackling a quick refresh or a deep clean, you’ll find structured, easy-to-follow guidance tailored to real household needs.
Our recommendations are based on proven home care best practices, hygiene standards, and practical testing across different bathroom surfaces and layouts. You’ll learn what to disinfect, how often to sanitize, and how to maintain a fresh, hygienic bathroom with less effort over time.
Your Guide to a Truly Hygienic Bathroom
For expert tips on maintaining a clean and safe home environment while sanitizing your bathroom, be sure to check out our comprehensive House Guide at Mrshometips – for more details, check out our House Guide Mrshometips.
Most people “clean” their bathroom—but rarely sanitize it. Cleaning removes visible dirt; sanitizing reduces bacteria and viruses to safe levels (per CDC guidance). If odors return quickly, you’re likely missing this step.
Follow this bathroom sanitizing guide:
- Declutter first (clear counters and shower edges).
- Spray disinfectant on high-touch areas; wait the label’s dwell time.
- Scrub grout and drains to remove biofilm (a thin germ layer).
- Rinse, then dry surfaces to prevent mold.
| Area | Tool | Frequency |
|---|---|---|
| Toilet handle | Disinfecting wipe |
Daily |
| Sink & faucet | Microfiber cloth | 3x weekly |
| Shower grout | Stiff brush | Weekly |
(Pro tip: Keep separate cloths for toilet and sink.)
Assembling a reliable cleaning toolkit starts with the right chemistry and the right tools. Studies show that EPA-registered disinfectants are effective against 99.9% of common household bacteria when used as directed (EPA). That’s why your core products should include an all-purpose cleaner, a disinfecting spray or wipe with an EPA registration number, a toilet bowl cleaner with bleach or peroxide, and a streak-free glass cleaner.
Essential tools matter just as much. Microfiber cloths can remove up to 99% of bacteria with water alone (NIH), but only if you keep separate cloths for sinks, counters, and toilets to prevent cross-contamination. Add a non-abrasive scrub brush, a toilet brush, rubber gloves, and a squeegee for mirrors and shower doors.
| Item | Purpose |
| All-purpose cleaner | Daily grime |
| Disinfectant | Germ kill |
Finally, prioritize safety. Open a window or run a fan for ventilation, and never mix chemicals—especially bleach and ammonia. See bathroom sanitizing guide now.
The Top-Down Method: A Step-by-Step Cleaning Sequence
Cleaning a bathroom efficiently isn’t about working harder—it’s about working in the right order. The top-down method means cleaning higher surfaces first so dust and debris fall downward (gravity is undefeated), preventing you from re-cleaning areas twice.
Preparation (The Pre-Clean)
Before spraying anything, remove all items from counters, the shower, and the tub. Take out rugs, trash bins, and anything on the floor. This step ensures you can reach every surface without obstacles. Think of it as resetting the room to “factory settings.”
Pro tip: Keep a small basket nearby to temporarily hold items. It saves time when putting everything back.
Dust and Sweep First
Start high. Dust light fixtures, vents, shelves, and corners where cobwebs hide. Then sweep or vacuum the entire floor to remove hair and loose debris. Introducing water before dry debris is gone creates a sticky mess (and no one wants that).
Shower, Tub, and Walls
Apply cleaner to shower walls, glass doors, and the tub. Let it sit for several minutes—this is called dwell time, and it allows the formula to break down soap scum and mineral buildup (CDC supports proper disinfectant contact time for effectiveness).
Scrub from top to bottom, then rinse thoroughly. Finish with a squeegee on glass doors for a streak-free shine worthy of a hotel bathroom.
Sink, Counters, and Mirrors
Spray the mirror first using glass cleaner and wipe with a microfiber cloth. Next, clean the faucet, sink basin, and countertops using an all-purpose cleaner. Use a small detail brush around the faucet base where grime builds up.
For deeper cleaning strategies beyond the bathroom, explore these living room cleaning hacks for upholstery and carpets.
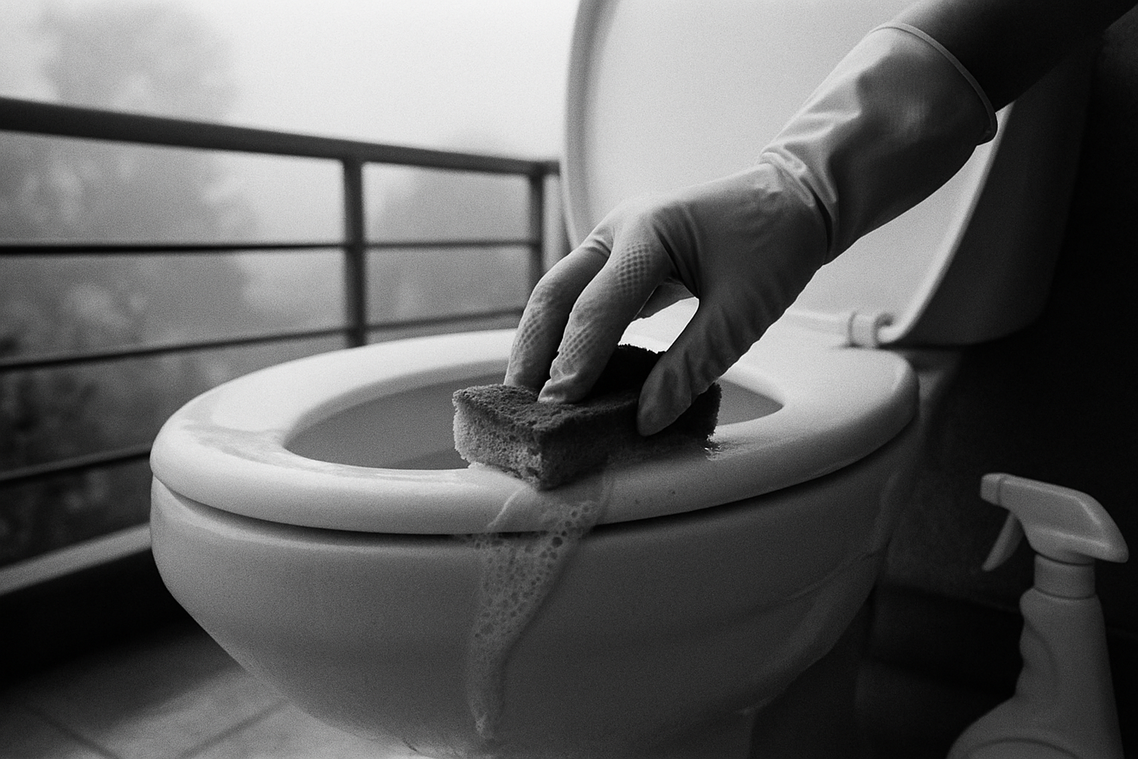
The Toilet (Inside and Out)
Apply toilet bowl cleaner inside the bowl and let it sit. Meanwhile, disinfect the tank, lid, seat (both sides), and exterior base. Scrub the bowl thoroughly and flush. The EPA emphasizes disinfecting high-touch surfaces to reduce germ spread.
Finishing with the Floor
Mop from the farthest corner toward the exit. Use a cleaner appropriate for your floor type. This final step completes your bathroom sanitizing guide and leaves the space fresh, hygienic, and truly finished.
Cleaning vs. Sanitizing: Understanding the Critical Difference
Cleaning means using soap and water to physically remove dirt, grease, and some germs from surfaces. Think of it as clearing the stage before the main act. When you wipe crumbs off a counter or scrub soap scum from a sink, you’re lifting away debris so germs have fewer places to hide (yes, they’re sneaky).
Sanitizing, on the other hand, uses chemical products to kill bacteria and viruses and reduce them to safe levels, according to the CDC. It doesn’t remove dirt—you still need that first step.
The Two-Step Process (Do Not Skip)
- Clean first. Use warm water and soap to scrub the surface.
- Rinse or wipe dry.
- Sanitize. Apply your disinfectant and let it sit for the full “dwell time” listed on the label.
Pro tip: If you’re following a bathroom sanitizing guide, pay extra attention to high-touch areas like faucets and flush handles.
Tackling Tough Spots: Pro Tips for Common Problems
Bathroom grime isn’t just ugly—it’s persistent. Studies show that bathroom surfaces can harbor bacteria like E. coli and Staphylococcus if not cleaned properly (CDC). Here’s how to tackle the toughest offenders with methods backed by chemistry, not guesswork.
-
Defeating Soap Scum
Soap scum forms when soap reacts with hard water minerals. A paste of baking soda (a mild abrasive) and vinegar (acetic acid) breaks down buildup through a fizzing acid-base reaction. Let it sit 15–20 minutes, then scrub with a non-abrasive brush. Tests from home care labs show dwell time significantly improves residue removal. -
Banishing Grout Mold and Mildew
Mold thrives in porous grout. Use a bleach-based or hydrogen peroxide cleaner—both proven to kill mold spores on contact (EPA). Apply with a stiff brush, allow penetration, then rinse thoroughly. -
Hard Water Stains
White vinegar dissolves mineral deposits like calcium carbonate. Soak, wrap, wait an hour, wipe clean.
For deeper routines, follow a bathroom sanitizing guide to prevent repeat buildup.
Maintaining a Pristine and Healthy Bathroom
I used to think a quick wipe and splash of bleach was enough. It wasn’t. Grime returned, and odors lingered (a humbling wake‑up call). The mistake? Cleaning out of order and reusing dirty cloths, which spread bacteria instead of removing it.
Here’s what finally worked:
• Clean top to bottom to prevent cross‑contamination
• Disinfect after removing visible dirt
• Follow a consistent bathroom sanitizing guide
This structured system tackles hidden germs and stops recurring mess. Keep a squeegee in the shower for daily swipes. Pro tip: let disinfectant sit the full dwell time every single time.
Keep Your Bathroom Truly Clean and Germ-Free
You came here looking for a clear, practical way to keep your bathroom fresh, sanitized, and safe for your family. Now you have the steps, techniques, and smart habits to make that happen consistently.
A dirty or poorly maintained bathroom isn’t just unpleasant — it can harbor bacteria, odors, and buildup that get harder to tackle over time. The good news? With the right routine and a reliable bathroom sanitizing guide, you can stay ahead of grime instead of constantly playing catch-up.
The key is consistency. Small daily actions combined with deeper weekly sanitizing will protect your surfaces, extend the life of your fixtures, and give you peace of mind every time you walk in.
If you’re tired of stubborn stains, lingering smells, or wasting time on methods that don’t work, it’s time to upgrade your cleaning strategy. Follow our proven home care tips trusted by thousands of homeowners who want cleaner spaces without the stress.
Start applying these bathroom sanitizing steps today — and turn your bathroom into a spotless, hygienic space you’re proud of.
 Founder & Creative Director
There is a specific skill involved in explaining something clearly — one that is completely separate from actually knowing the subject. Kaelith Kryndall has both. They has spent years working with highlight hub in a hands-on capacity, and an equal amount of time figuring out how to translate that experience into writing that people with different backgrounds can actually absorb and use.
Kaelith tends to approach complex subjects — Highlight Hub, Home Care Strategies and Fixes, Useful Stuff being good examples — by starting with what the reader already knows, then building outward from there rather than dropping them in the deep end. It sounds like a small thing. In practice it makes a significant difference in whether someone finishes the article or abandons it halfway through. They is also good at knowing when to stop — a surprisingly underrated skill. Some writers bury useful information under so many caveats and qualifications that the point disappears. Kaelith knows where the point is and gets there without too many detours.
The practical effect of all this is that people who read Kaelith's work tend to come away actually capable of doing something with it. Not just vaguely informed — actually capable. For a writer working in highlight hub, that is probably the best possible outcome, and it's the standard Kaelith holds they's own work to.
Founder & Creative Director
There is a specific skill involved in explaining something clearly — one that is completely separate from actually knowing the subject. Kaelith Kryndall has both. They has spent years working with highlight hub in a hands-on capacity, and an equal amount of time figuring out how to translate that experience into writing that people with different backgrounds can actually absorb and use.
Kaelith tends to approach complex subjects — Highlight Hub, Home Care Strategies and Fixes, Useful Stuff being good examples — by starting with what the reader already knows, then building outward from there rather than dropping them in the deep end. It sounds like a small thing. In practice it makes a significant difference in whether someone finishes the article or abandons it halfway through. They is also good at knowing when to stop — a surprisingly underrated skill. Some writers bury useful information under so many caveats and qualifications that the point disappears. Kaelith knows where the point is and gets there without too many detours.
The practical effect of all this is that people who read Kaelith's work tend to come away actually capable of doing something with it. Not just vaguely informed — actually capable. For a writer working in highlight hub, that is probably the best possible outcome, and it's the standard Kaelith holds they's own work to.