
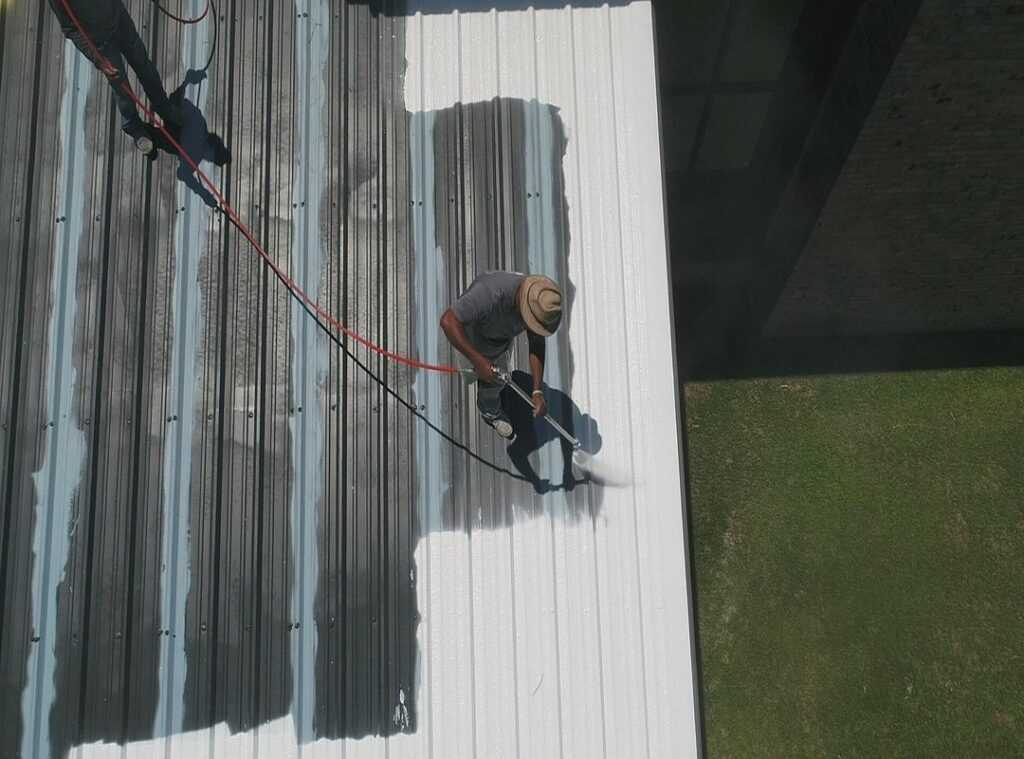
Seeing a water stain on your ceiling is like a punch to the gut, right? Panic sets in because a roof leak isn’t just a drip. It’s a threat to your home’s structure, your wallet, and your peace of mind.
You’re not alone in this. I’ve helped countless homeowners like you turn that initial dread into a manageable plan. This guide is born from real experience, not theory.
It’s all about repairing roof leaks quickly and effectively. You’ll get a step-by-step process to tackle the immediate damage, find the source, and understand what it takes to fix it yourself. And if it’s beyond your skill set, you’ll know when to call in a pro.
Trust me, you’ll come away equipped with the knowledge to protect your home.
First Steps: Stopping a Leak in Its Tracks
You’ve spotted a leak. Panic sets in, right? But don’t worry.
It’s all about quick action. First things first, grab a bucket and some old towels. Place them under the leak to protect your floors and belongings.
It’s a quick fix, but it buys you time.
Now, let’s talk about that bulging ceiling. Strange as it sounds, you need to puncture it. Carefully poke a small nail into the center of the water bubble.
Why? It helps control where the water goes (trust me, it prevents a bigger mess).
After that, clear the area. Move furniture, electronics, and anything valuable. You don’t want more damage than necessary.
This also makes room for any repair work you’ll need later.
Before you do anything else, take photos. Document the leak and any damage. It’s annoying, but your future self (and your insurance company) will thank you.
Oh, and while you’re at it, maybe check out Effective Pest Control Remedies Home. You never know what other surprises you’re living with.
Remember, these steps are about containment. For actual fixing, you’ll need to look into repairing roof leaks properly. But hey, one step at a time, right?
Playing Detective: The Mystery of the Roof Leak
Ever wonder why the water stain on your ceiling is miles away from the actual leak? It’s because water travels along rafters, like some sneaky character in a heist film. To track it down, you need to start playing detective.
First, let’s head to the attic. Grab a solid flashlight (and maybe a friend) and climb up. Safety first: watch your step and avoid exposed nails.
I always look for dark water stains on the underside of the roof deck, wet insulation, and signs of mold or rot. These are the telltale signs.
Now, here’s a pro tip: use the ‘uphill’ tracing method. Start at the wettest spot and work your way up towards the peak of the roof. It’s like finding the source of a river.
Water always flows downhill, so logically, the leak is uphill from the stain.
If you’re brave enough to inspect the roof from the outside, remember safety is key. Only go up if the roof is dry, not too steep, and you’re comfortable with heights. Use a sturdy, well-placed ladder (I’ve seen too many cartoons to ignore this advice).
Look for these usual suspects: cracked, curled, or missing shingles, damaged flashing around chimneys or skylights, cracked rubber boots around vent pipes, and popped nails. These are the villains in our story.
Once you’ve gathered your clues, you might wonder what to do if you have a leaking roof. The next step is key: repairing roof leaks before they become a bigger problem. Trust me, ignoring them won’t make them disappear.
Replace those damaged parts, seal the cracks, and voila! Mystery solved.
Fixing Roof Leaks: DIY Made Simple
Let’s face it, repairing roof leaks can feel daunting. But it doesn’t have to be. With the right tools and a little patience, even you can tackle common roof repairs without breaking a sweat.
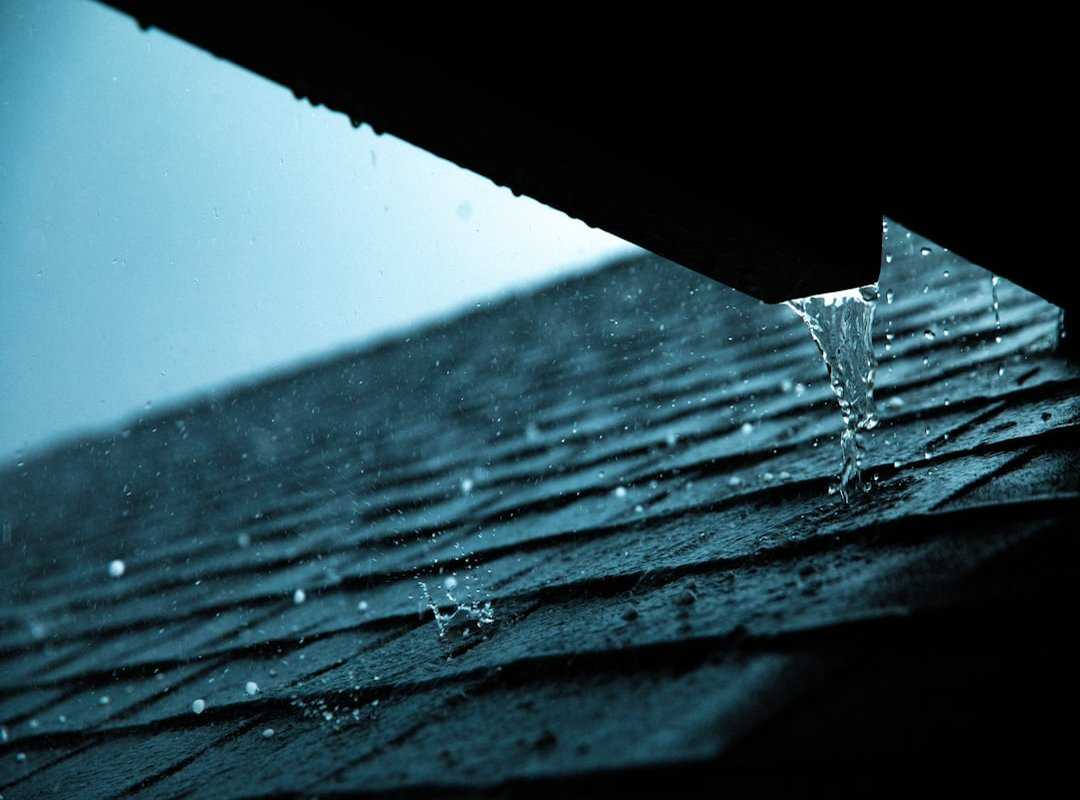
Seriously, if I can do it, so can you.
First up, fixing a single damaged shingle. You’ll need a flat pry bar, hammer, utility knife, roofing nails, a replacement shingle, and roofing sealant. Got those?
Great. Start by breaking the seal of the shingles above the damaged one. Gently pry up and remove the nails.
Don’t rush this part. Slide the old shingle out and the new one in. Secure it with four roofing nails.
Finally, apply sealant to the nail heads and under the tabs of the shingles above. Easy, right?
Now, let’s talk about sealing a leaky vent boot. That flexible rubber boot around plumbing vents? It’s often a troublemaker.
For minor cracks, clean the area thoroughly. Apply a thick bead of high-quality roofing sealant over the crack and around the entire base of the boot. For major damage, replacing the entire boot is the best long-term fix.
It might seem like a hassle, but trust me, it’s worth it.
On to patching gaps in flashing. This one’s straightforward. Use a putty knife to clean out the old, cracked sealant around the flashing.
Then, apply a fresh, continuous bead of roofing cement or sealant to close the gap. This step is key. Skipping it could mean more leaks down the road.
Feeling empowered yet? You should be. With these steps, you’re ready to tackle those pesky leaks head-on.
And if you ever find yourself dealing with other home issues, like dealing common home electrical problems, there’s a treasure trove of info out there to guide you.
Remember, the key to successful DIY repairs is preparation and patience. Don’t rush. Take your time.
Your roof (and your wallet) will thank you. So, roll up your sleeves and get to work. You’ve got this.
DIY or Pro: When to Call the Experts
There’s a fine line between feeling like a champ with a toolkit and ending up overwhelmed on your roof. I get it, we all want to save a buck and feel accomplished. A quick fix seems doable, right?
But sometimes it’s not just a quick patch-up job.
Does the idea of repairing roof leaks have you climbing the ladder? Okay, but let’s pause. If you’ve got a few isolated missing shingles or a minor crack in a vent boot, go ahead.
Tackle those! They’re straightforward and low-risk. But what about those mysterious leaks lurking in the shadows you can’t pinpoint?
Or when the roof’s pitch resembles a ski slope? That’s a big no-no for DIY.
If you see signs of rot or sagging, call a pro before things get worse. Even the brave among us should know when to call it quits. Safety first, always. (Roofing isn’t a hero’s game.)
Here’s my take: don’t let your DIY spirit cloud good judgment. Do what you can, but don’t hesitate to dial a professional when things get tricky. You’ll sleep easier knowing your roof won’t cave in (literally) or financially.
Protect Your Home, One Roof at a Time
You’ve got this now. Roof leaks? They’re scary, sure, but not unbeatable.
You know how to tackle them. Remember, a clear plan can make all the difference. By following these steps, you’re actively guarding your biggest investment.
Why wait for chaos when you can prevent it? Perform a visual roof inspection twice a year. Become proactive.
You’re not just reacting to problems; you’re stopping them in their tracks. For more on repairing roof leaks, dive into resources that equip you with solutions.
Take action. Protect your home. Your peace of mind starts here.
 Home Care Specialist & Operations Manager
Steven Washingtonavilo writes the kind of useful stuff content that people actually send to each other. Not because it's flashy or controversial, but because it's the sort of thing where you read it and immediately think of three people who need to see it. Steven has a talent for identifying the questions that a lot of people have but haven't quite figured out how to articulate yet — and then answering them properly.
They covers a lot of ground: Useful Stuff, Daily Home Maintenance Tips, Room-Specific Cleaning Techniques, and plenty of adjacent territory that doesn't always get treated with the same seriousness. The consistency across all of it is a certain kind of respect for the reader. Steven doesn't assume people are stupid, and they doesn't assume they know everything either. They writes for someone who is genuinely trying to figure something out — because that's usually who's actually reading. That assumption shapes everything from how they structures an explanation to how much background they includes before getting to the point.
Beyond the practical stuff, there's something in Steven's writing that reflects a real investment in the subject — not performed enthusiasm, but the kind of sustained interest that produces insight over time. They has been paying attention to useful stuff long enough that they notices things a more casual observer would miss. That depth shows up in the work in ways that are hard to fake.
Home Care Specialist & Operations Manager
Steven Washingtonavilo writes the kind of useful stuff content that people actually send to each other. Not because it's flashy or controversial, but because it's the sort of thing where you read it and immediately think of three people who need to see it. Steven has a talent for identifying the questions that a lot of people have but haven't quite figured out how to articulate yet — and then answering them properly.
They covers a lot of ground: Useful Stuff, Daily Home Maintenance Tips, Room-Specific Cleaning Techniques, and plenty of adjacent territory that doesn't always get treated with the same seriousness. The consistency across all of it is a certain kind of respect for the reader. Steven doesn't assume people are stupid, and they doesn't assume they know everything either. They writes for someone who is genuinely trying to figure something out — because that's usually who's actually reading. That assumption shapes everything from how they structures an explanation to how much background they includes before getting to the point.
Beyond the practical stuff, there's something in Steven's writing that reflects a real investment in the subject — not performed enthusiasm, but the kind of sustained interest that produces insight over time. They has been paying attention to useful stuff long enough that they notices things a more casual observer would miss. That depth shows up in the work in ways that are hard to fake.