There’s nothing worse than a kitchen that looks clean but hides grime. I get it. A quick wipe-down seems like enough until your appliances stop working right.
Who doesn’t hate sticky, grimy surfaces? The problem’s simple: hidden gunk. It’s sneaky and messes with your kitchen’s hygiene.
Here’s your solution: a guide to deep clean kitchen appliances. I’m sharing methods I’ve tested for years (no) harsh chemicals, just real-world tips for busy folks. Forget professional checklists.
You need practical advice that works. Follow this, and you’ll have a sparkling kitchen. Ready to reclaim your kitchen’s sparkle?
Gather Your Gear: Budget-Friendly Deep Clean Toolkit
When it comes to a deep clean of kitchen appliances, you don’t need fancy stuff. Forget the overpriced, chemical-laden products. Here’s what I use.
Natural Cleaners: White vinegar, baking soda, dish soap, and lemon. This simple combo? It’s gold. Vinegar cuts through grease like you wouldn’t believe, and baking soda scrubs without scratching surfaces. Dish soap and lemon handle the rest. Seriously, that’s it.
Important Tools: Microfiber cloths, a non-scratch scrub sponge, an old toothbrush for those tight spots, and a spray bottle. You’d be surprised how a toothbrush can reach places you didn’t even know existed.
Now, a key safety warning: Always unplug small appliances before cleaning. I’ve been there (zapped) because I forgot. For larger appliances like ovens or dishwashers, don’t mess with electrical parts.
Need more cleaning tips? Check out these bathroom cleaning hacks you need to know.
Cleaning the Giants: Oven, Fridge, and Dishwasher
Deep cleaning kitchen appliances isn’t my idea of a fun Saturday, but it’s important. Let’s tackle this together.
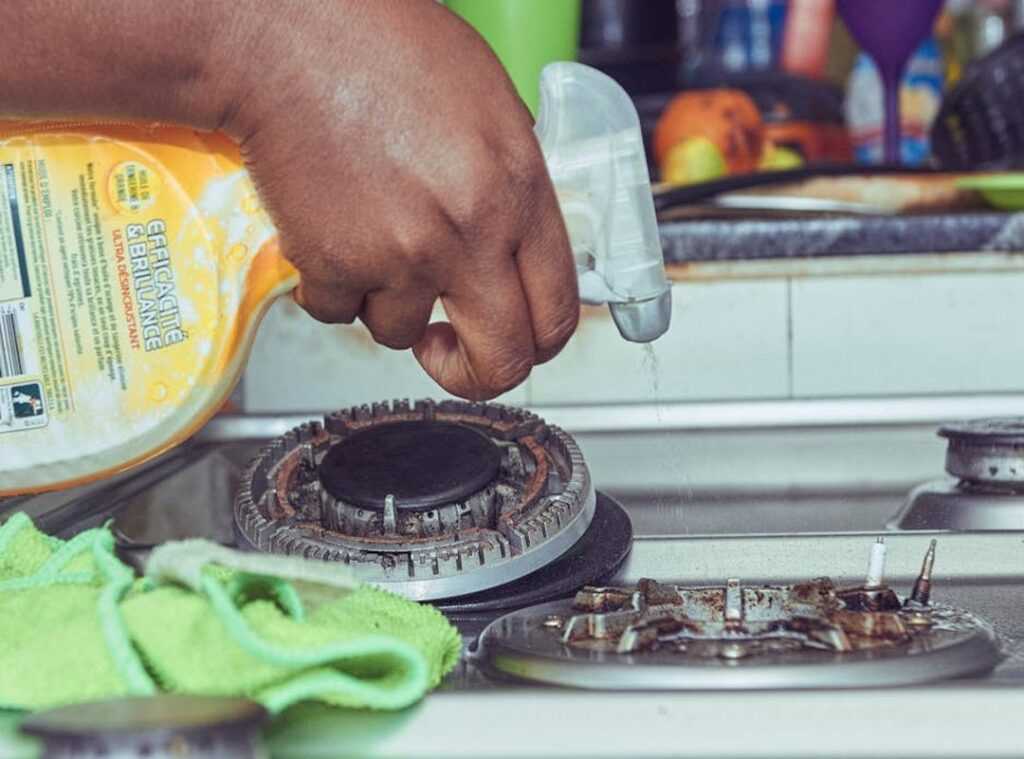
First up, the oven. Forget those intense oven cleaners. Use a baking soda paste instead; it’s magic.
Mix baking soda with a splash of water until it’s pasty. Slather it all over the oven’s interior, but steer clear of those heating elements (unless you owe the electrician a visit). Let it sit overnight.
The magic happens while you sleep. The next day, wipe or scrape it off. Don’t skip the racks; soak them in your tub with dish soap.
Got a glass door? You can scrub that too. What’s your excuse now?
On to the refrigerator. Shelves and drawers aren’t just decor. Yanking them out and washing in warm, soapy water is key.
You know what else? That 50/50 vinegar-water mix. It’s like Febreze, but for your fridge.
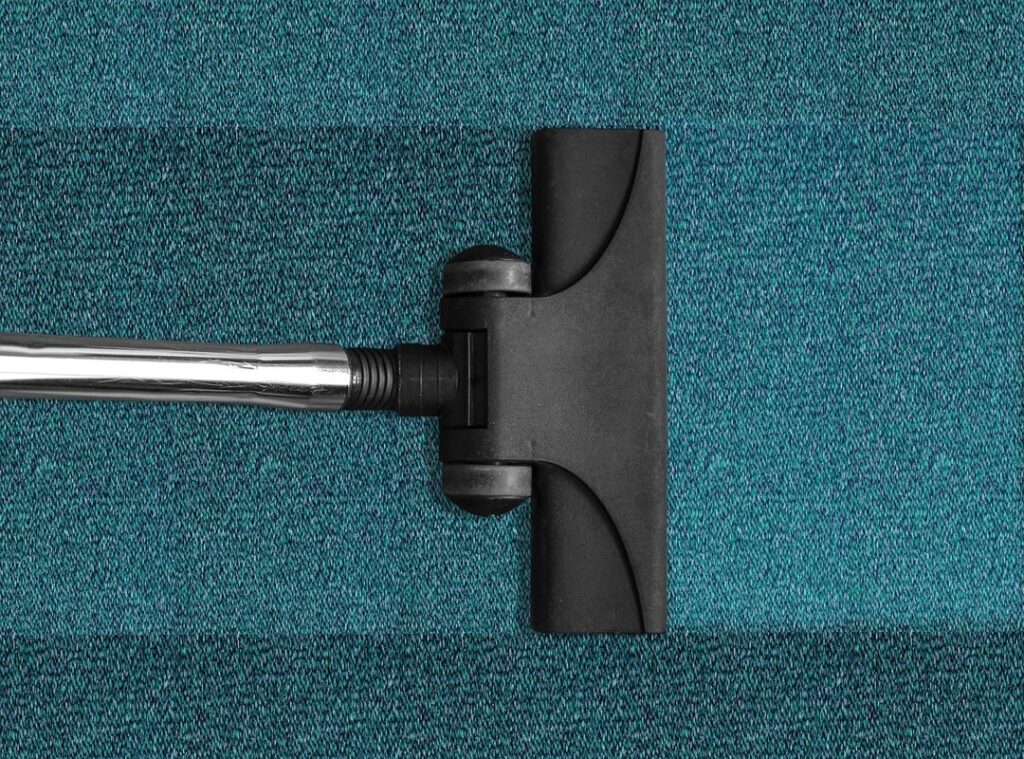
Spritz it around inside for a fresh scent. Here’s a pro tip: don’t forget to vacuum the condenser coils. They live on the back or bottom of the fridge.
Doing this could save you on your electric bill, and who doesn’t love that?
Now, the dishwasher. You’d think that cleans itself, right? Wrong.
First, locate the filter at the bottom and give it a cleaning. If you don’t, it’s like using a dirty sponge (gross, I know). For a vinegar rinse, put a cup of white vinegar on the top rack and run a hot cycle.
Trust me, it works. Lastly, the rubber door seal. Wipe it down; mold is the last guest you want.
Cleaning doesn’t have to be a battle. Just follow these steps and conquer those kitchen giants. Consider your appliances deep cleaned.
Got any other tips? Feel free to share them. Let’s make this chore a breeze!
Everyday Grime Busters: Restoring Your Microwave & Coffee Maker
Let’s face it, microwaves get gross fast. Splattered food, sticky residue, it’s all in there. But I’ve got a trick up my sleeve: the lemon/vinegar steam-cleaning hack.
It’s genius.
Grab a microwave-safe bowl. Fill it with water and toss in some lemon slices (or a few tablespoons of vinegar if you’re feeling bold). Microwave it for 3-5 minutes.
You want it steamy. Let it sit for a few minutes afterward. This part’s key.
It loosens all that grime so you can wipe it away with zero effort. Don’t forget to wash the turntable separately. Trust me, it makes a difference.
Now, onto the coffee maker. Mineral buildup is the enemy of good coffee. It’s called scale, and it’s ruining your morning brew.
Here’s what you do: fill the reservoir with a half-and-half solution of white vinegar and water. Run a brew cycle. Then let it sit for 30 minutes.
It’s like a spa treatment for your coffee maker. Finish by running 2-3 full cycles of plain water. This rinses everything out.
Hand-wash the carafe and filter basket.
Deep clean kitchen appliances like this, and you might just love them again. No more funky tastes or smells. If you’re into cleaning tips, you might check out Effective Bedroom Cleaning Tips Allergy Sufferers.
It’s got some good stuff.
So, what’s stopping you? Get cleaning! You’ll be surprised how easy it is.
And your kitchen will thank you.
Don’t Forget the Details: Cleaning Toasters, Blenders & More
Toasters are crumb magnets. First thing’s first: unplug it. You don’t want a shocking experience, right?

Slide out the crumb tray and empty it over the trash. A dry pastry brush works wonders for those stubborn crumbs stuck inside. Wipe the outside with a damp cloth and a splash of vinegar.
Blenders are easy if you know the trick. Fill it halfway with warm water, add a drop of dish soap, and blend for 30 seconds. Seriously, it’s that simple.
It shines like new.
Rinse it and let it air dry. This quick method is perfect for everyday use. But for a real deep clean, check the manual.
Some parts might need special attention.
Let’s not ignore those other small appliances like stand mixers and air fryers. The rule of thumb? Wipe the main body.
Wash any removable parts (think bowls, attachments, baskets) in hot, soapy water. You’ll thank yourself later.
For more on this, check out the best ways to deep clean. It’s a treasure trove of tips. Remember, a little effort goes a long way in keeping those appliances looking and working like new.
Deep clean kitchen appliances and they’ll last a lifetime. Or close to it.
Stay Ahead of the Grime: A Simple Appliance Cleaning Schedule
Let’s face it, nobody really loves deep cleaning kitchen appliances. But here’s the secret: if you do a little now, you’ll save yourself from hours of scrubbing later. Trust me, it’s worth it.
Weekly: I always start with a quick wipe of the microwave interior. It’s amazing how much gunk can build up in just a few days. And those spills in the fridge? Get them now, before they turn into sticky disasters.
Monthly: Clean the dishwasher filter. Don’t skip it. Also, empty that toaster crumb tray and wipe down appliance exteriors. Otherwise, you’ll be battling grease and crumbs forever.
Quarterly: A deep clean of the refrigerator works wonders. Descale the coffee maker too. It’s like giving your kitchen a mini spa day.
Twice a Year: Deep clean the oven and vacuum those fridge coils. It’s less painful than it sounds.
Fifteen minutes a month can save you hours later.
Kitchen Cleaning Made Simple
Hidden grime got you down? A truly clean kitchen is within reach. When you deep clean kitchen appliances, dirt and buildup don’t stand a chance.
Tackle each appliance with the right techniques, and watch the magic happen. It’s manageable, not overwhelming.
Here’s the deal: Don’t take on the whole kitchen at once. Pick one appliance this weekend. Trust me, it feels incredible.
You’ll see the difference, and it becomes addictive.
Want to stop secretly cringing when you open the oven? Take that step. Clean one thing.
Your future self will thank you. Start today.
 Founder & Creative Director
There is a specific skill involved in explaining something clearly — one that is completely separate from actually knowing the subject. Kaelith Kryndall has both. They has spent years working with highlight hub in a hands-on capacity, and an equal amount of time figuring out how to translate that experience into writing that people with different backgrounds can actually absorb and use.
Kaelith tends to approach complex subjects — Highlight Hub, Home Care Strategies and Fixes, Useful Stuff being good examples — by starting with what the reader already knows, then building outward from there rather than dropping them in the deep end. It sounds like a small thing. In practice it makes a significant difference in whether someone finishes the article or abandons it halfway through. They is also good at knowing when to stop — a surprisingly underrated skill. Some writers bury useful information under so many caveats and qualifications that the point disappears. Kaelith knows where the point is and gets there without too many detours.
The practical effect of all this is that people who read Kaelith's work tend to come away actually capable of doing something with it. Not just vaguely informed — actually capable. For a writer working in highlight hub, that is probably the best possible outcome, and it's the standard Kaelith holds they's own work to.
Founder & Creative Director
There is a specific skill involved in explaining something clearly — one that is completely separate from actually knowing the subject. Kaelith Kryndall has both. They has spent years working with highlight hub in a hands-on capacity, and an equal amount of time figuring out how to translate that experience into writing that people with different backgrounds can actually absorb and use.
Kaelith tends to approach complex subjects — Highlight Hub, Home Care Strategies and Fixes, Useful Stuff being good examples — by starting with what the reader already knows, then building outward from there rather than dropping them in the deep end. It sounds like a small thing. In practice it makes a significant difference in whether someone finishes the article or abandons it halfway through. They is also good at knowing when to stop — a surprisingly underrated skill. Some writers bury useful information under so many caveats and qualifications that the point disappears. Kaelith knows where the point is and gets there without too many detours.
The practical effect of all this is that people who read Kaelith's work tend to come away actually capable of doing something with it. Not just vaguely informed — actually capable. For a writer working in highlight hub, that is probably the best possible outcome, and it's the standard Kaelith holds they's own work to.